Send HTML newsletters
The website mailtrain.org presents an overview of the software’s features. Nevertheless, we created some screencasts covering the most important topics to get you started with setting up your newsletter system.
If you prefer text based instructions, you will find text versions below, too.
How to create/import subscribers
- First you need to create a new list of e-mail addresses that your newsletter campaign can use later to send out mails. Of course you can have mutiple lists for multiple use cases.
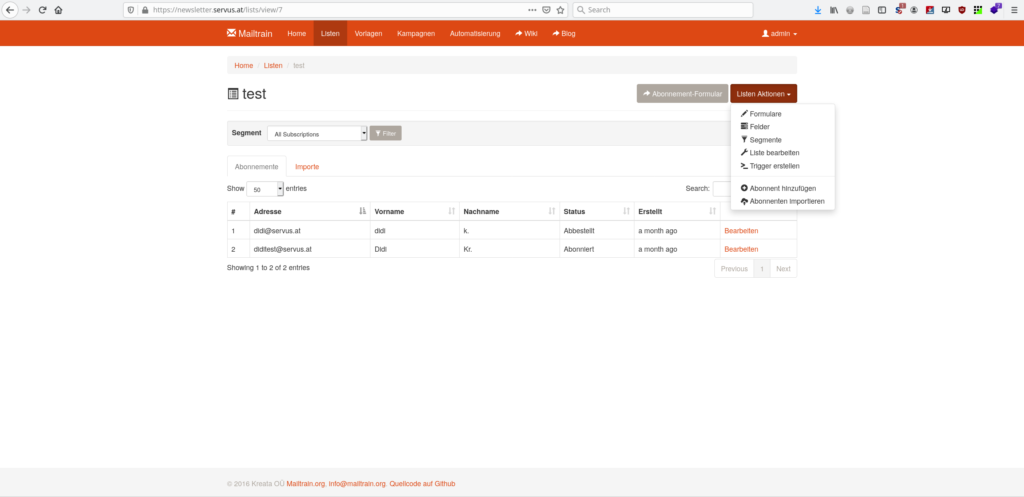
- Within the list you created you can create subscribers manually by clicking
Abonnent hinzufügen or you can import them from a .csv file by clickingAbonnenten importieren .
Hint
If you want to switch from using a mailinglist for sending newsletters to Mailtrain, here is how you move your existing subscribers to the new list.
How to set up an e-mail template
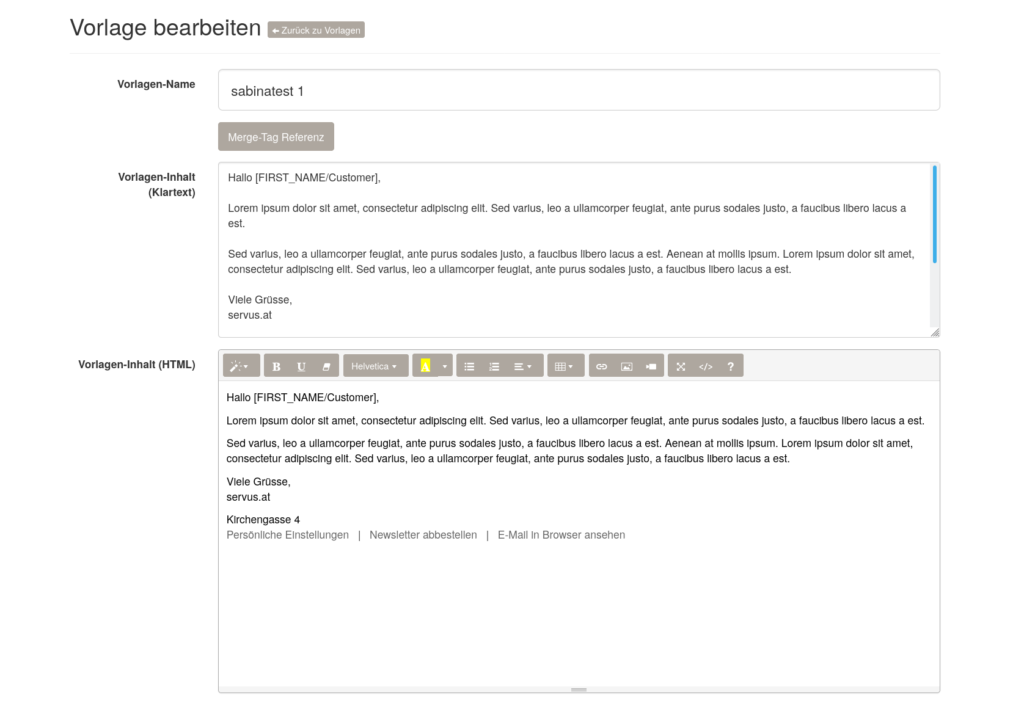
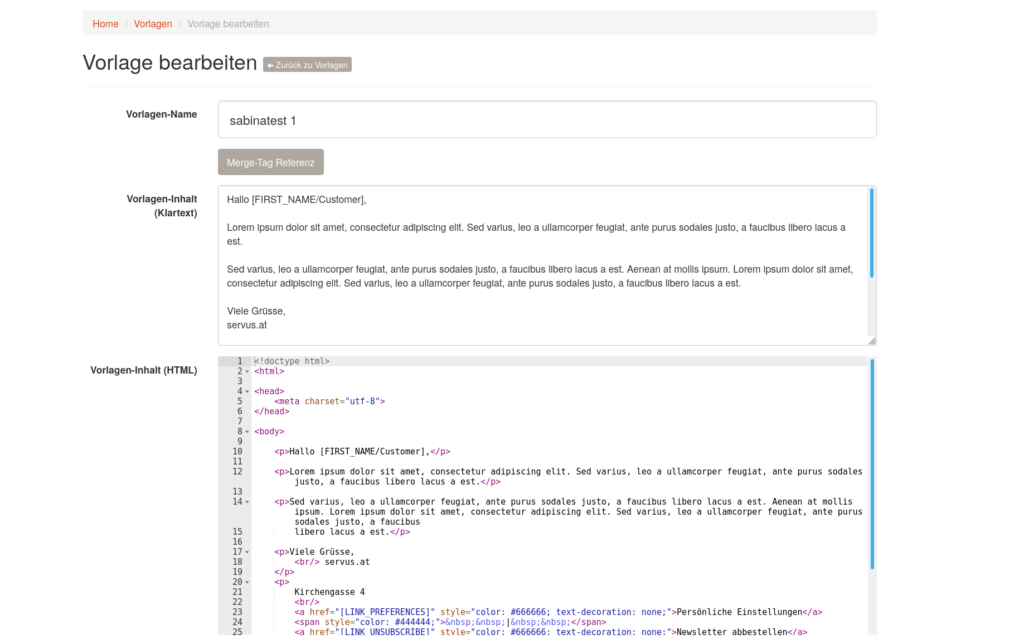
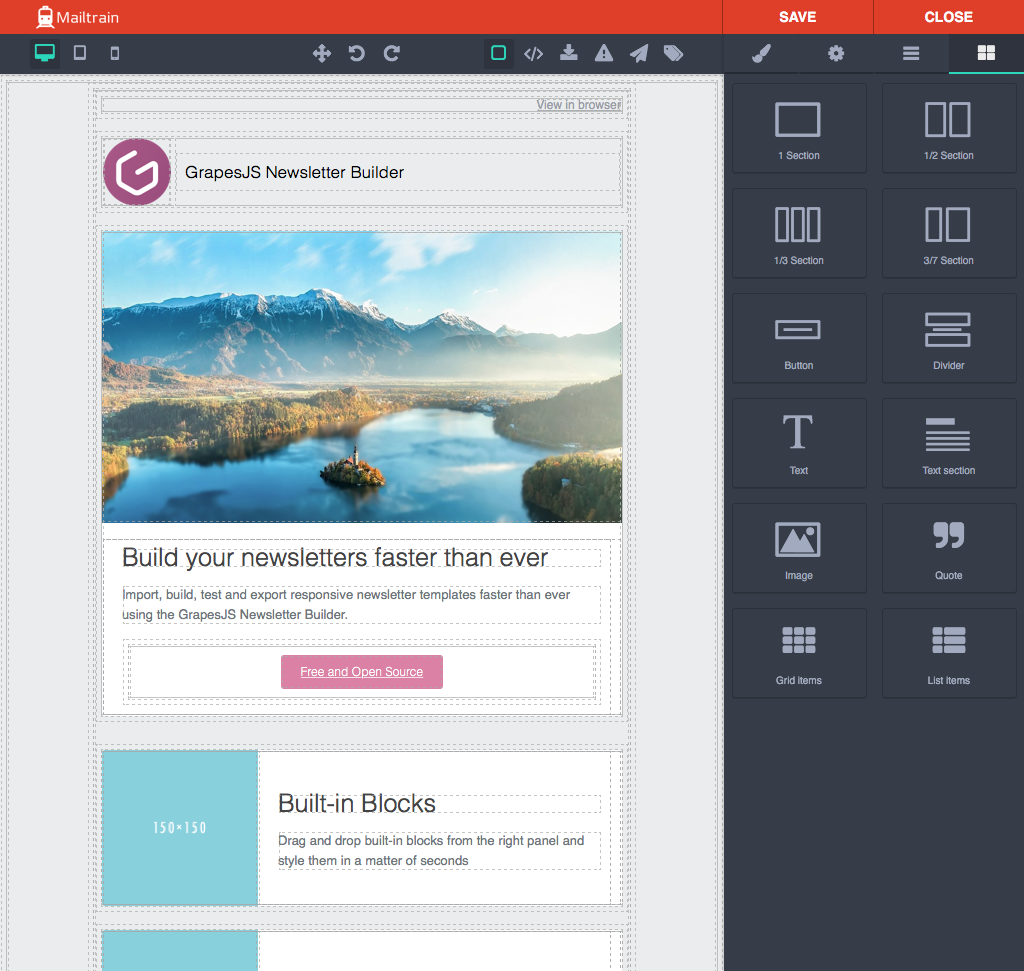
In part 3 of our Mailtrain screencast we show you how to create a template for your mails. We show you the four different HTML editors Summernote, Code Editor, GrapeJS and Mosaico.
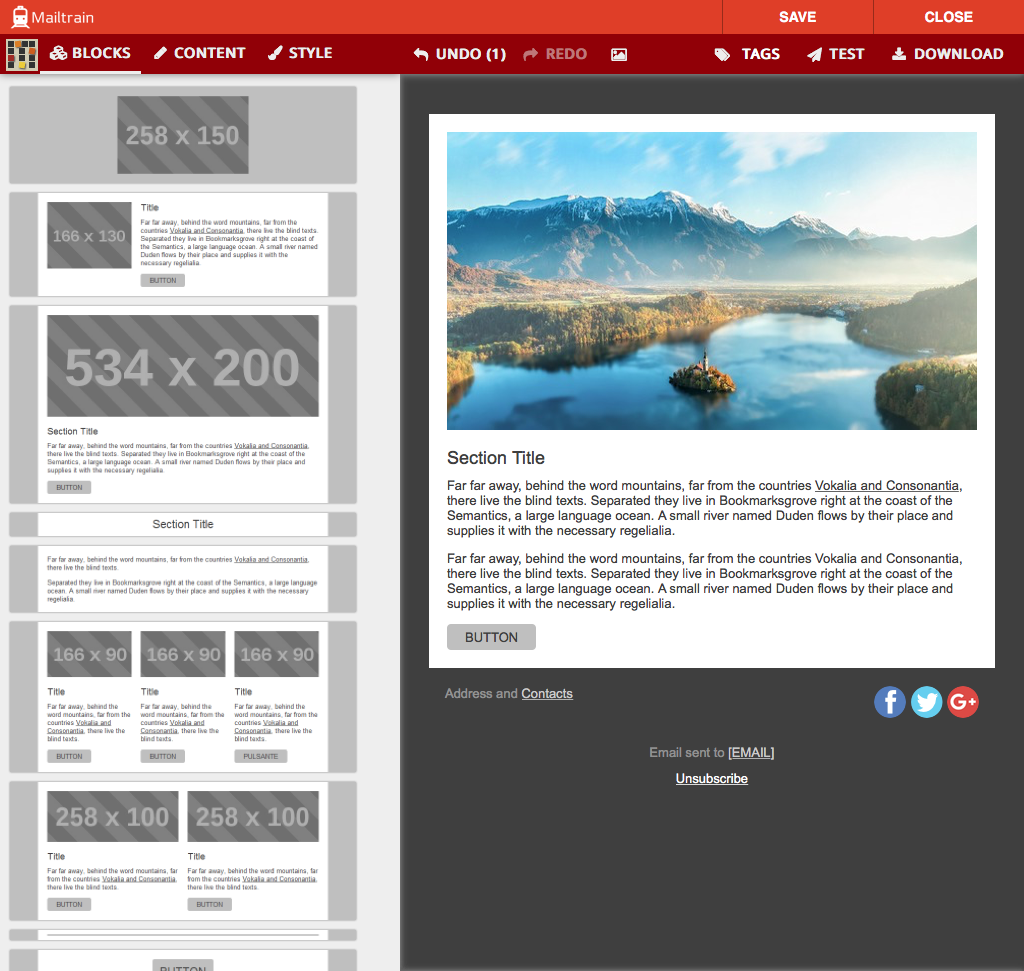
What campaigns are and how to create them
A campaign is the actual frame for sending your newsletter. In a campaign you can select the list of subscribers you want to address, you can add the actual content to your e-mail template, you can preview the campaign (read more here: https://github.com/Mailtrain-org/mailtrain/wiki/Previewing-campaigns), you can attach files and you can finally send your newsletter.
In addition to creating campaigns manually there is also a feature called “Triggered Campaign”. List maintainers can define a set of triggers that fire on some special occasion (X days after subscriber sign-up or Y days after subscriber clicked on a link in campaign Z).
Read more about this feature here: https://github.com/Mailtrain-org/mailtrain/wiki/Automation-in-Mailtrain
Docs
Learn how to comfigure your newly created Mailtrain instance to be ready to send your HTML newsletters.
Read More